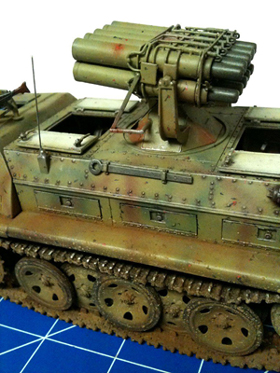
Dragon 1/35 Jagdtiger PaK.80 (L/66)
Background
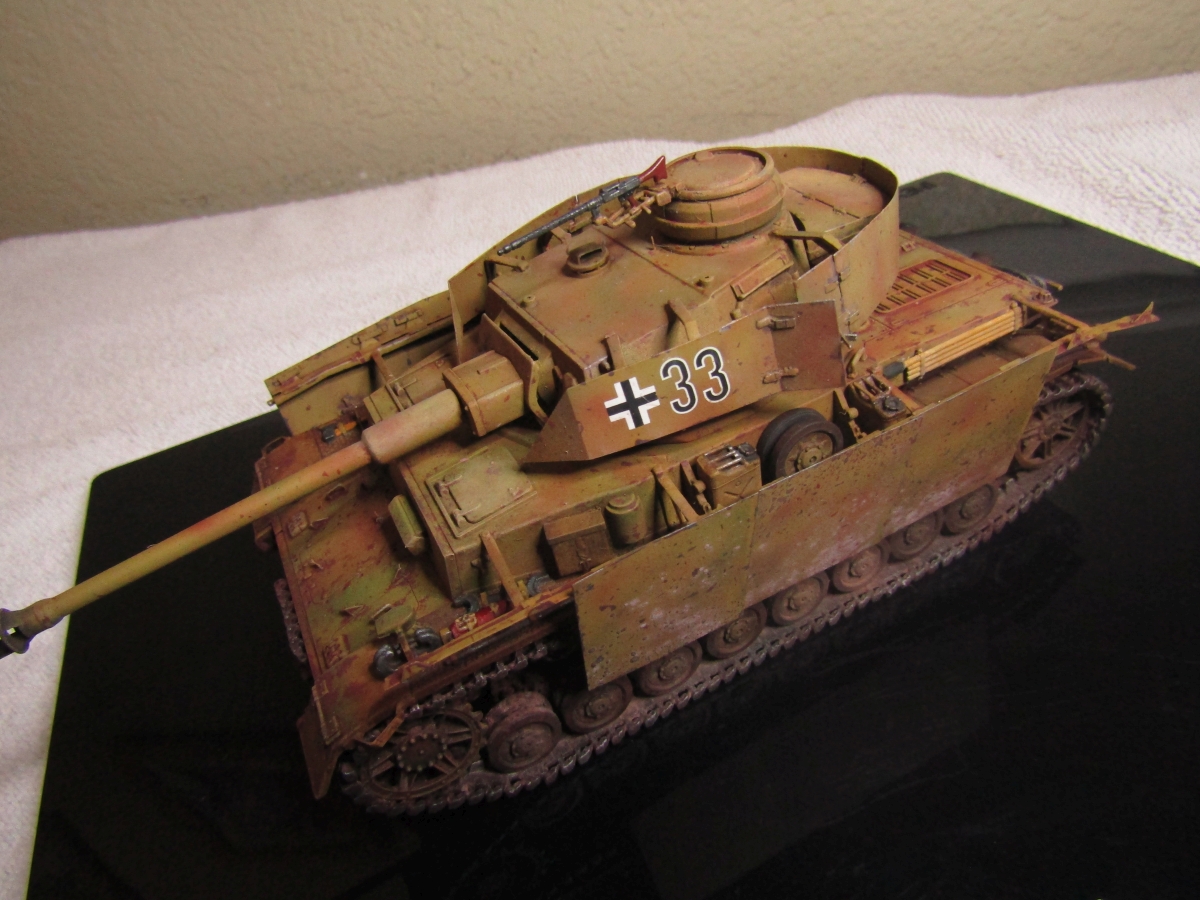
The German Jagdtiger tank destroyer was the super heavyweight of WWII armored vehicles. It was 10.65m long from the tip of its powerful gun muzzle to the outlets of the rear exhausts, and it was a massive 3.6m wide. The Sd.Kfz. 186 Jagdtiger entered service in late 1944, and it served on both the Eastern and Western Fronts, with around 80 or so produced.
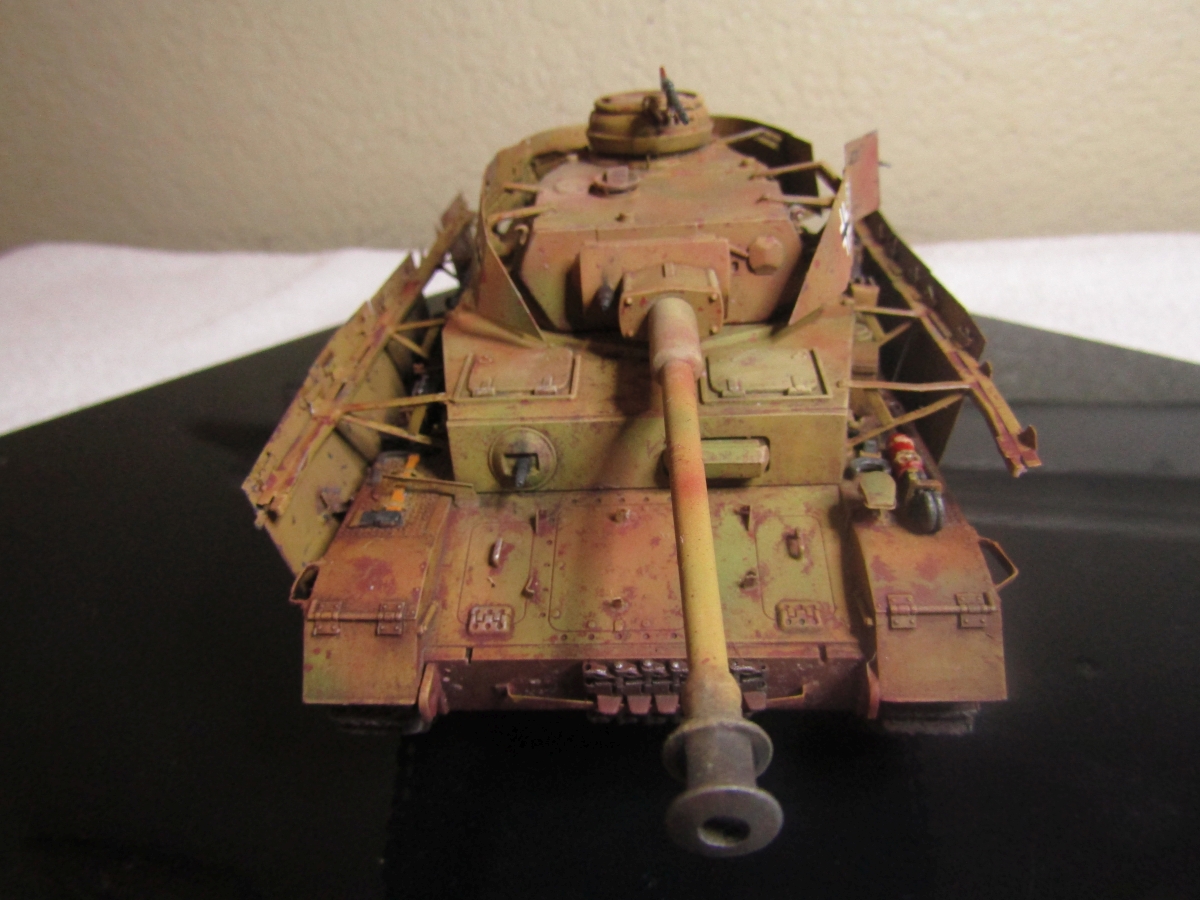
Although these vehicles were armed with a lethal 12.8cm PaK 44 L/55 gun, the Jagdtiger’s enormous bulk impacted severely on its mobility, meaning it could only hope to reach a maximum speed of 22mph @ best.
The Jagdtiger suffered from the same problems as Koenigstiger, because of its great weight and high fuel consumption that made it extremely slow. Jagdtiger’s breakdown problem was never solved and many were abandoned or blown up by their crews to prevent them from being captured intact by the Allies.
A proposal was made by Krupp engineers to replace the PaK.44 with the even more powerful (and heavy) 12.8cm PaK.80 L/66 gun. The weight of the extended barrel would have been too much while traveling and would have torn the mountings off the vehicle and would have required that the entire gun be retracted for travel, with the breech assembly hanging over the rear engine deck. This was only a proposal.
The Build
This kit is no different than Dragon’s other Jagdtiger kits, except there is the L/66 barrel, packaged along with the L/55. The molding is clean and there is minimal flash on any of the parts and requiring only a few needed minor cleaning
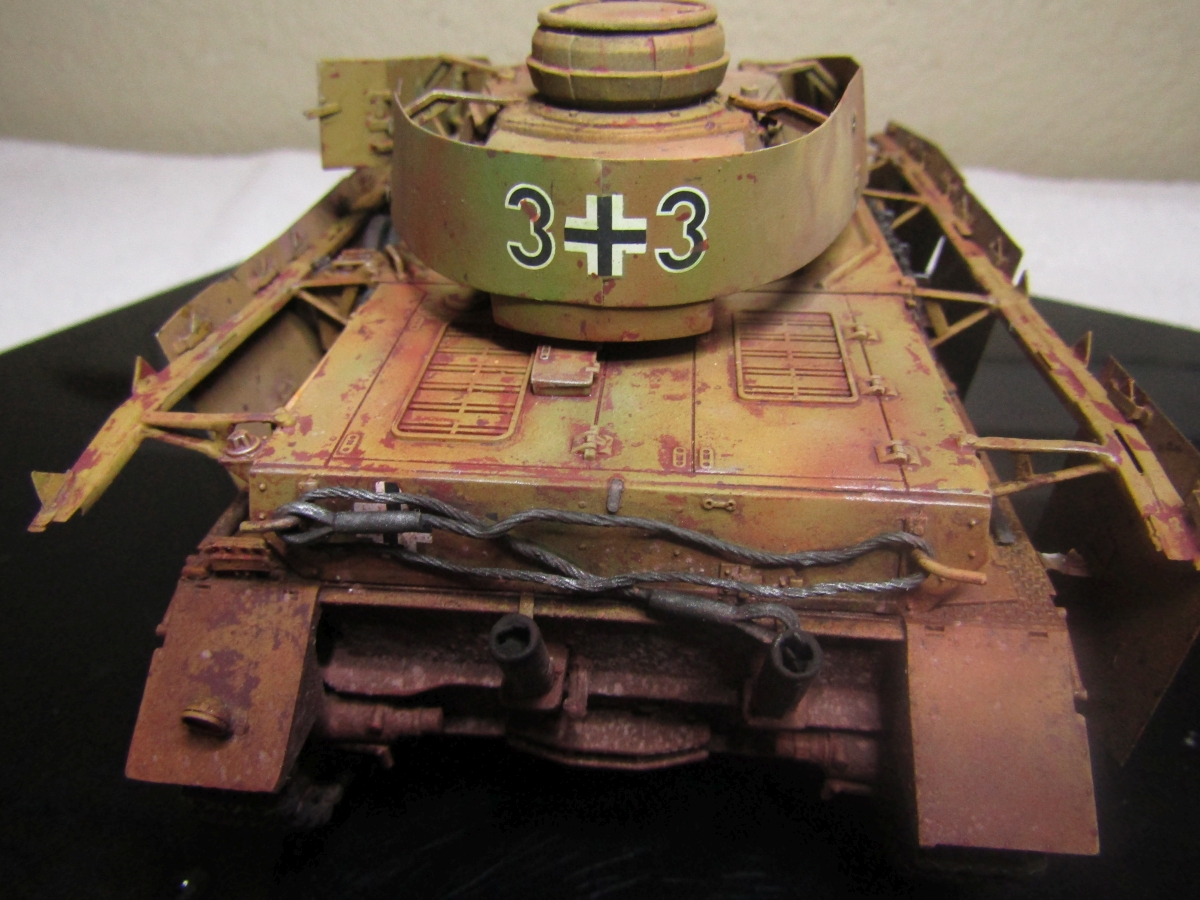
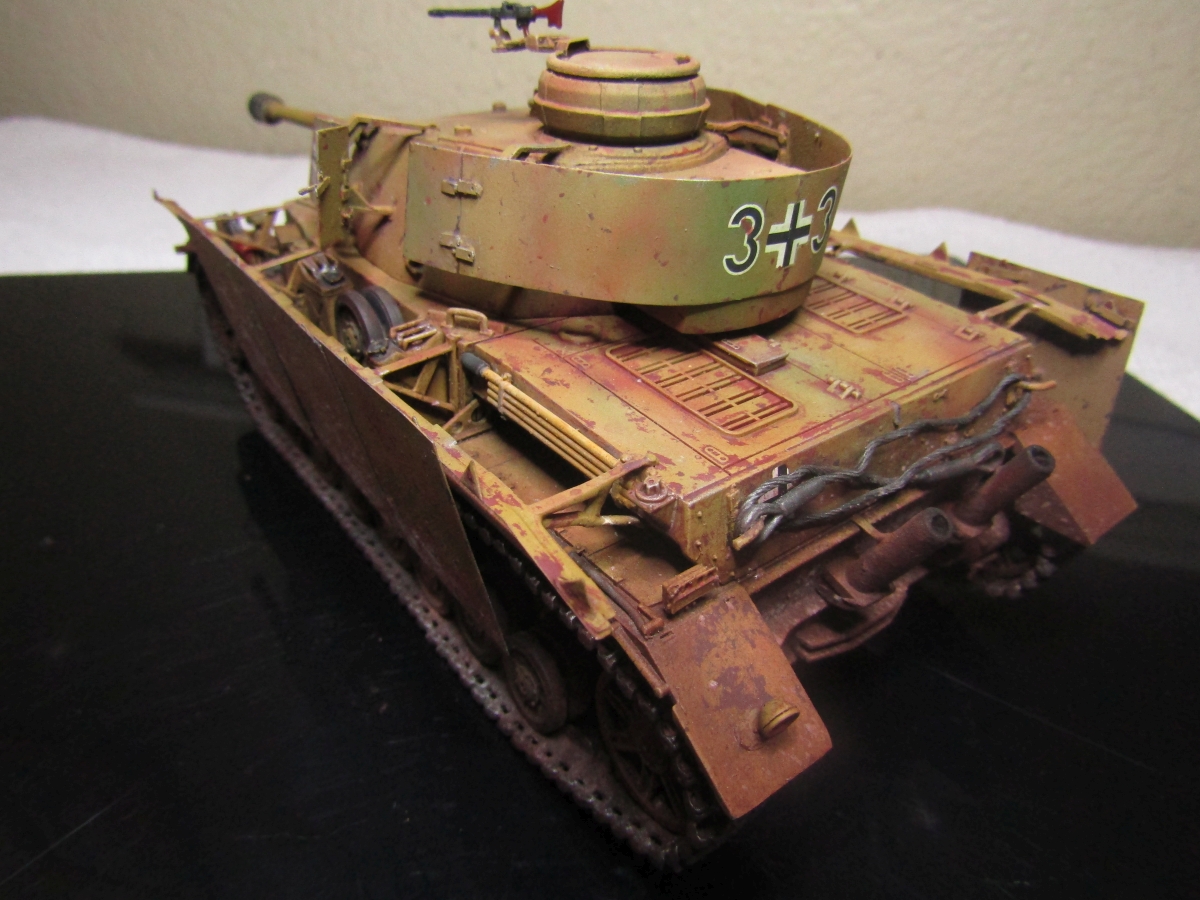
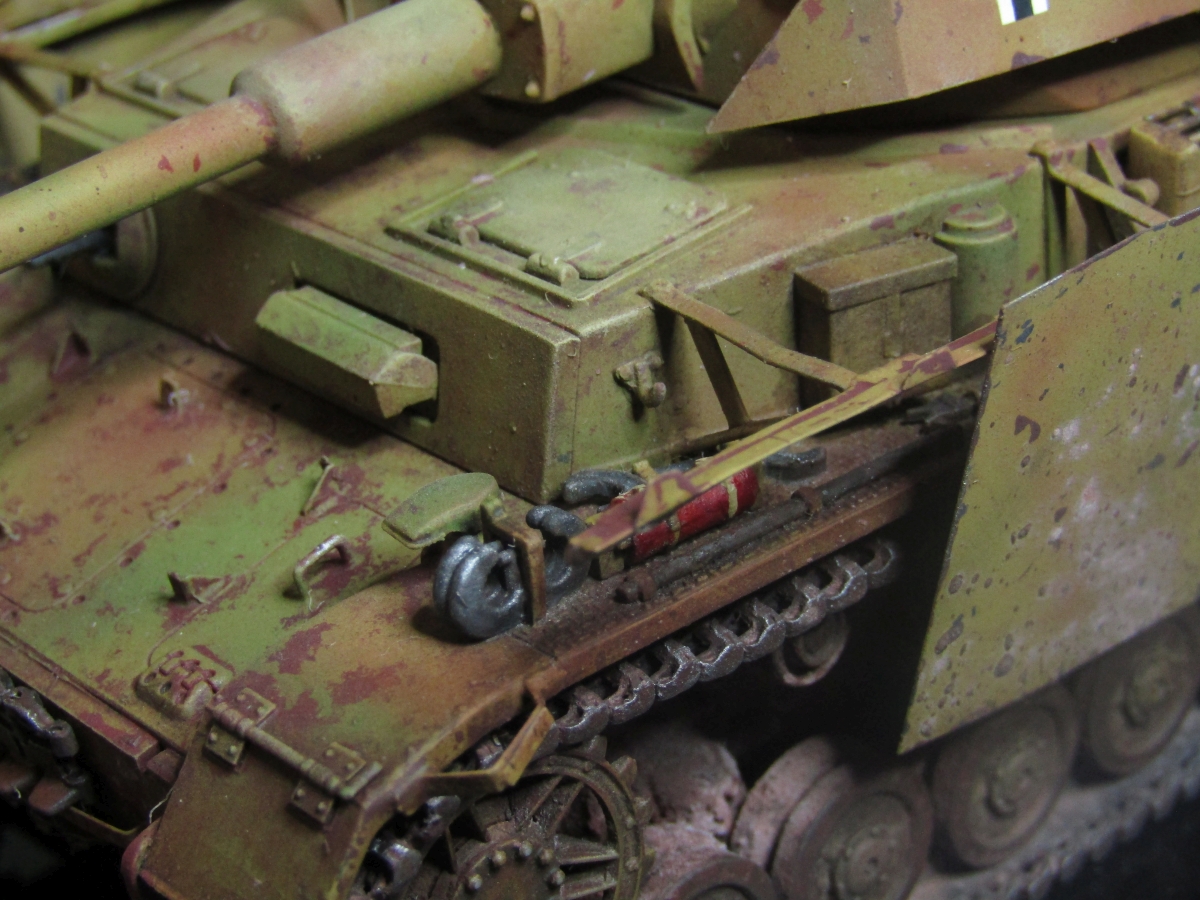
There are a few minor sink marks that weren’t an issue, and a considerable amount of flash on many of the parts. There is some nice textured detail on the cast iron gun mantlet and the texture of the rolled steel on the upper hull as well as good bolt head detail on the road wheels and sprockets.
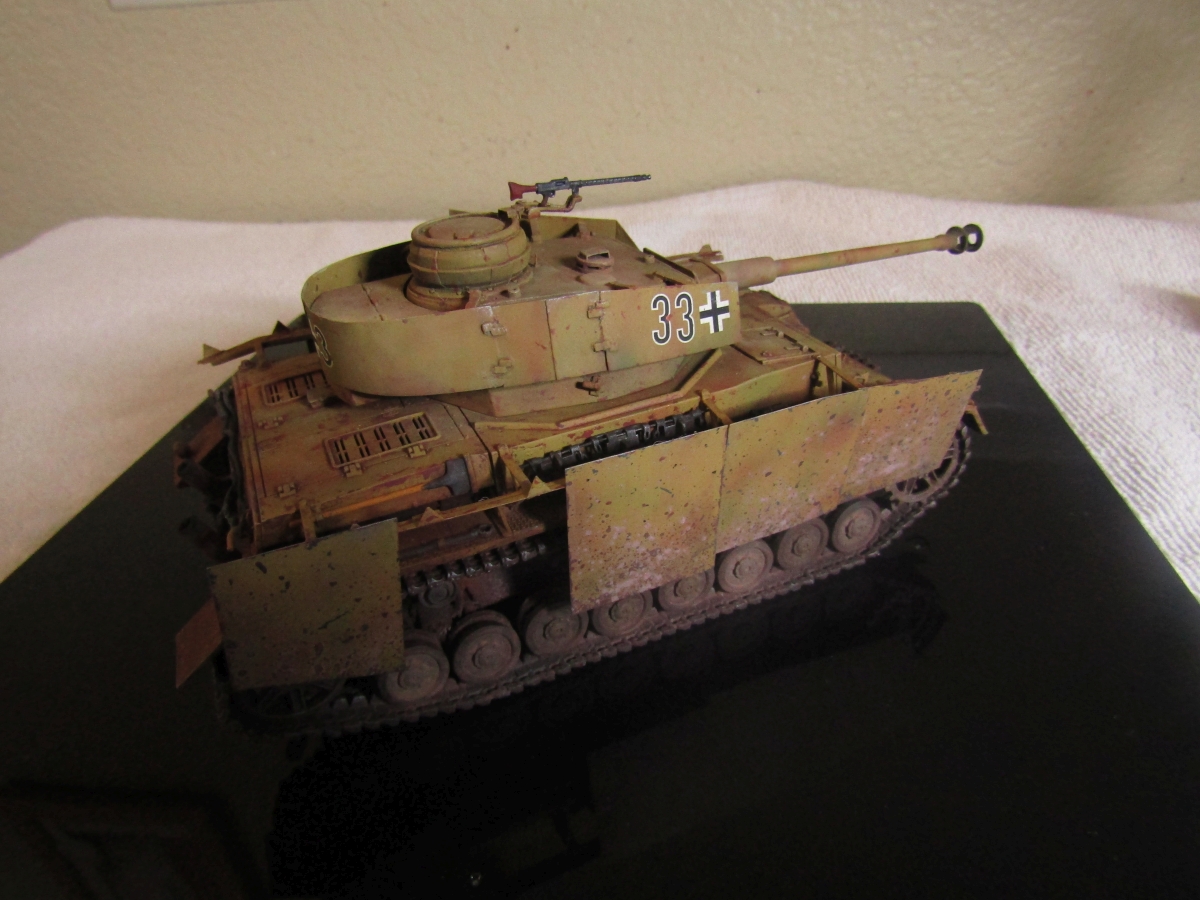
Overall fit of all the part was quite good, and no major filling or sanding was required. I was very satisfied with the quality and ease of fit. I built it right out of the box, except for some resin tie downs.
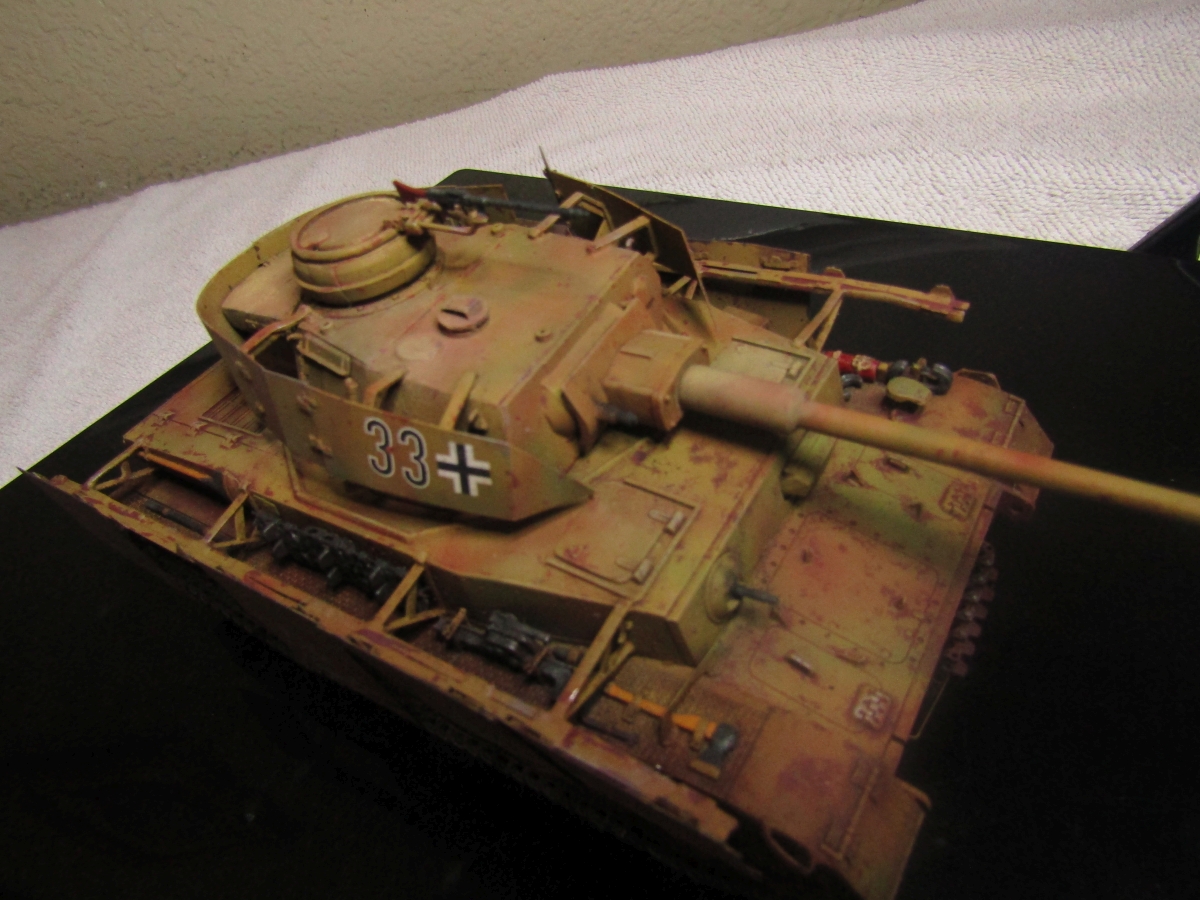
I used the AK Interactive Dunkelgelb Modulation Set, applied over a coat of Vallejo Acrylic German Red Brown Primer. I painted the tools and details with wood and grey also from Vallejo Acrylics. The tracks were painted a dark grey, mixed with a little brown. I then sealed it off with Vallejo Gloss Varnish. Waited two days for the wash to be applied.
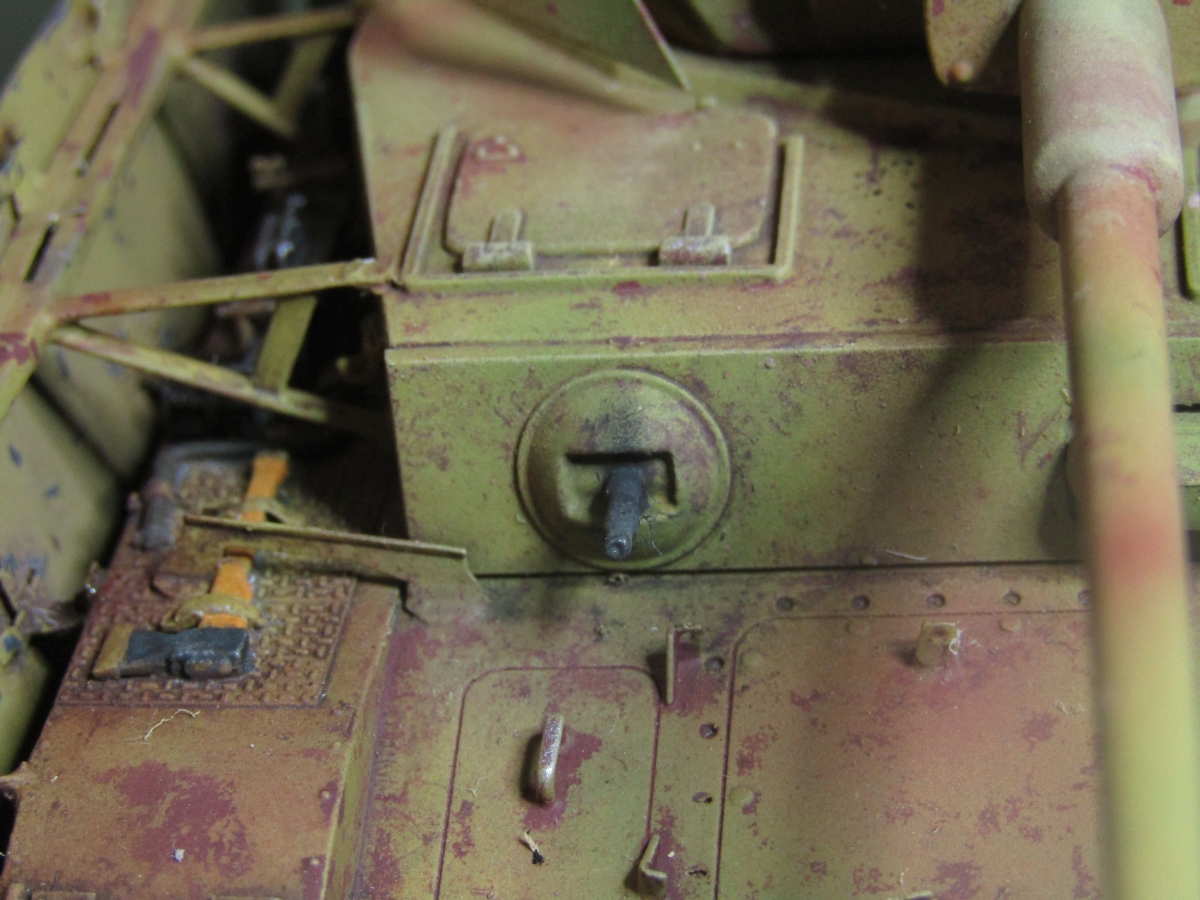
I used AK/Interactive and AMMO of Mig Jimenez. I used a wide range of colors. Primarily AK’s Dark Yellow Wash, Rust Streaks, Wash for NATO Camo Vehicles, and Burnt Rust Red Pigment. Representing AMMO of Mig Jimenez, I used Light Rust Wash, Tracks Wash, and for the pigments I used AMMO Black Pigment, Medium Rust Pigment, Light Rust Pigment, European Earth Pigment and Gun Metal Pigment.
I used a mixture of Vallejo Brown and Black for the chipping. I used Testor’s Model Master for highlighting the parts of the machine gun and cables, on board tools and extensive wear edges.